

You got lost in the woods. What do you do?
No matter the situation you find yourself in, always follow the “holy trinity” of outdoor survival: water, fire, shelter.
In this article, we we’ll show you how to obtain each of these three absolute necessities for wilderness survival.
Water
While humans can go without food for as long as 21 days, it takes an average of only three days before you dehydrate completely and your body starts to shut down. Dehydration can occur even faster if you are in a hot and dry environment.
Here is how are the two steps to take to keep yourself hydrated:
1. How to find a freshwater source
In an ideal situation, you will have a stream, river, or lake nearby.
If these water sources are out of your sight, look out for animal tracks, lush green vegetation, or a swarm of insects. While doing so, bear in mind that water always flows downhill in low-lying areas or valleys.
If you can’t find one of these obvious freshwater sources, look for close-by muddy areas. Muddy regions may contain underground water. Try digging a foot-deep hole and wait to see if the hole starts to fill up with water.
Other freshwater sources that can serve your purpose are rainwater, snow, ice, and heavy dew. Do not use snow or ice to rehydrate unless you melt it first, otherwise, you risk even more severe dehydration.
2. How to make sure the water is safe to drink
If you are lucky, you will stumble upon water that is safe to drink without having to purify it. There are no guarantees, but if the water is clear, doesn’t have scum or debris on the surface, and is odorless, it is likely to be drinkable.
Still, it is safer to purify it than to regret it later.
It is recommended that you steadily boil the water for a good 10 minutes before you drink it. Ideally, you should have some sort of container with you to use boil the water in. If not, try to find an aluminum or tin can, large shell, or any item that can sustain high temperatures.
As you have probably assumed, you will need a fire to boil your water and make it safer to drink, which brings us to our next section…
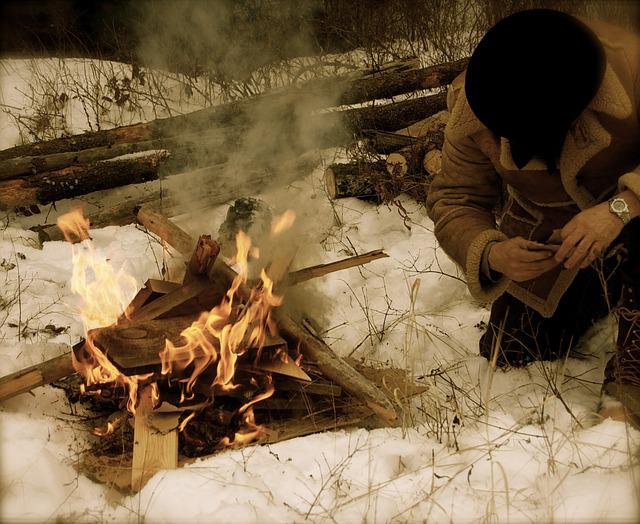
Fire
Having a lighter, matches, or flint and steel on you is an obvious advantage in this situation. But if you don’t have any of these items with you don’t worry, all is not lost.
There are ways you can build a fire only with what you can find in nature, such as these two primitive fire-making techniques:
1. The hand drill
 This method is not the easiest way to build fire, but if you stay persistent you will have a better chance of succeeding.
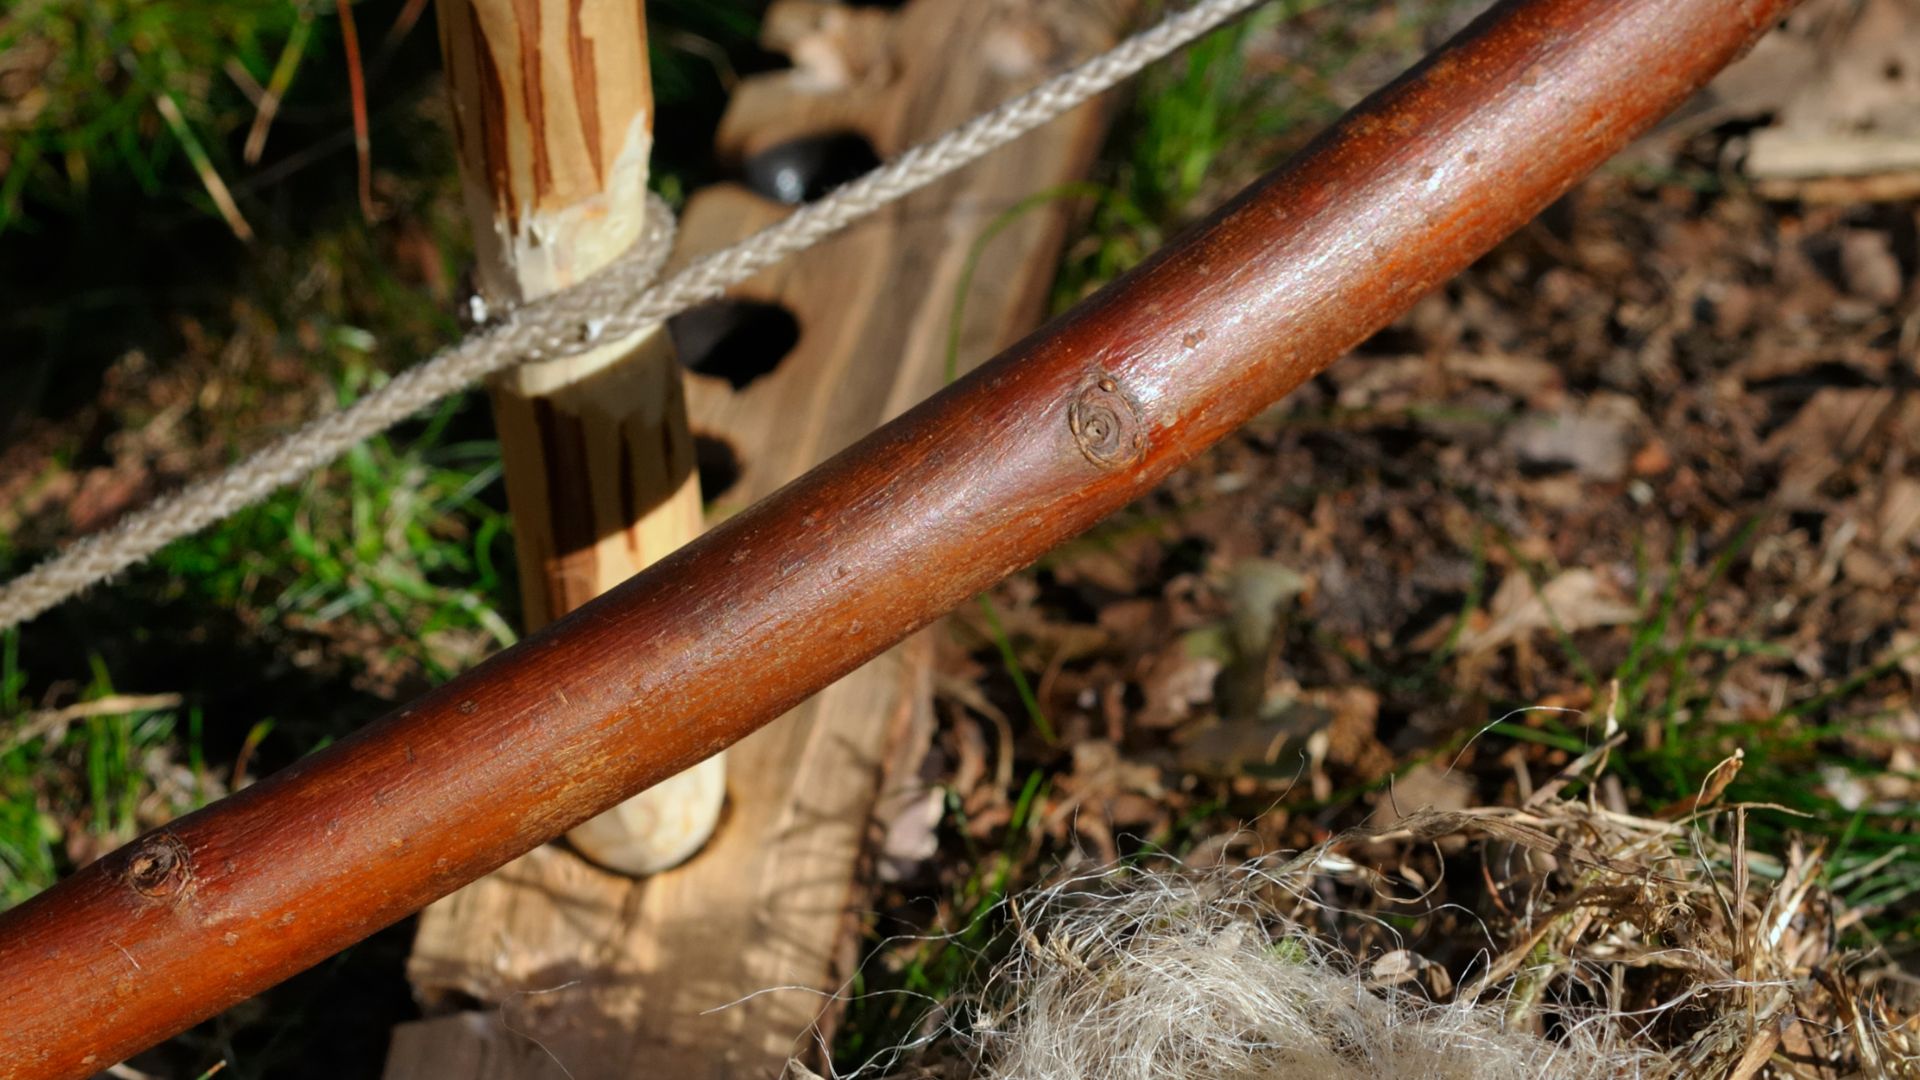
The first step is building a tinder nest that you will use to create a flame out of the ember you create. You will then need to make a v-shaped notch in your fireboard and a small cavity next to it.
Put the spindle into the cavity and start spinning while applying the pressure on the board at the same time. Keep spinning until you see your ember glowing. Drop your ember on the peace of bark and transfer it to your tinder nest. Blow gently to help your fire ignite.
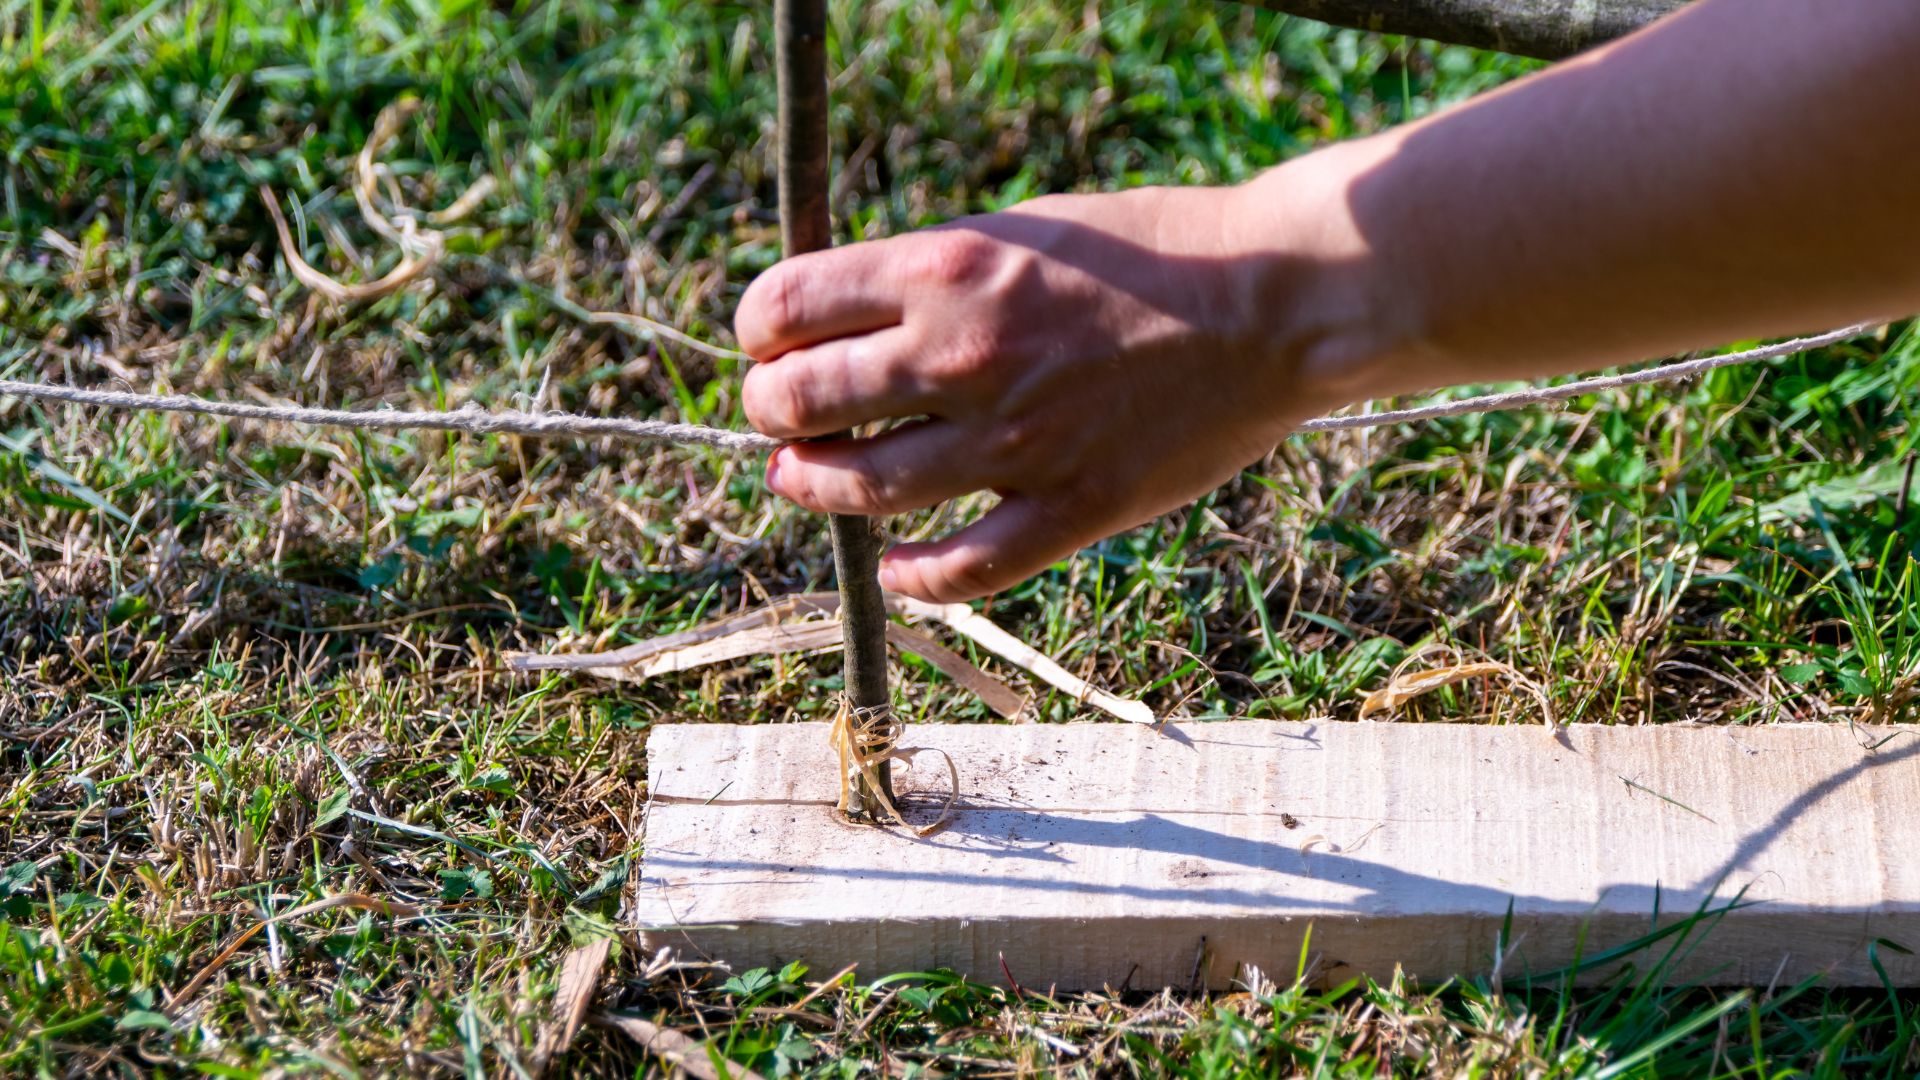
2. Bow drill
The bow drill method is very similar to the hand drill procedure. The only difference is that you will use a bow to create friction. Your bow should be at about your arm’s length and made of a flexible piece of wood, ideally the one that is already naturally curved.
For the bowstring, you can use a rope, shoelace, rawhide ribbon, etc.
You would then use the bow to start sawing back and forth until you create an ember. Other steps are the same as the hand drill method.
Shelter
You might find yourself in a situation where you have to spend a night or more nights in the wilderness. Knowing how to build a shelter will save you from wind, rain, cold, and any dangerous wildlife that comes around.
In the best-case scenario, you will have a survival knife with you to both provide protection and act as a tool in constructing a shelter. If not, you can use sharp rocks to make a primitive ax.
The simplest way of building a shelter includes the following four steps.
1. Find the right location
The best location would be the one that is protected from the wind naturally. You should also make sure that your chosen area isn’t going to get flooded in a case of a heavy storm.
2. Isolate your shelter from the ground
This step is very important for preserving your body heat. Build a rectangular frame from logs and fill it with what you can find – dried leaves, pine branches, palm leaves, etc.
3. Frame the shelter
Build an A-frame by adjusting the sticks to meet one spot at the top. After you make a basic structure, keep adding the sticks from front to back. To keep your sticks tight together, you can use a rope or any type of liana you can find.
4. Pile it on
Once you finish building your frame, start adding a tick covering debris over the whole structure. Make sure you place enough layers to ensure your shelter is waterproof.
Think of your shelter as a temporary place of residence – it doesn’t have to be comfortable to keep you alive.
Conclusion
Whenever you plan to go on a wilderness adventure you can expect the unexpected. It is always a good idea to be prepared and equipped with useful tools like matches or a survival knife, but if you find yourself in an unpredicted situation, don’t panic, try to keep a positive attitude, and remember the “holy trinity” of outdoor survival – water, fire, shelter.

